Espresso Cocoa Panna Cotta

p2IMG_4494pix

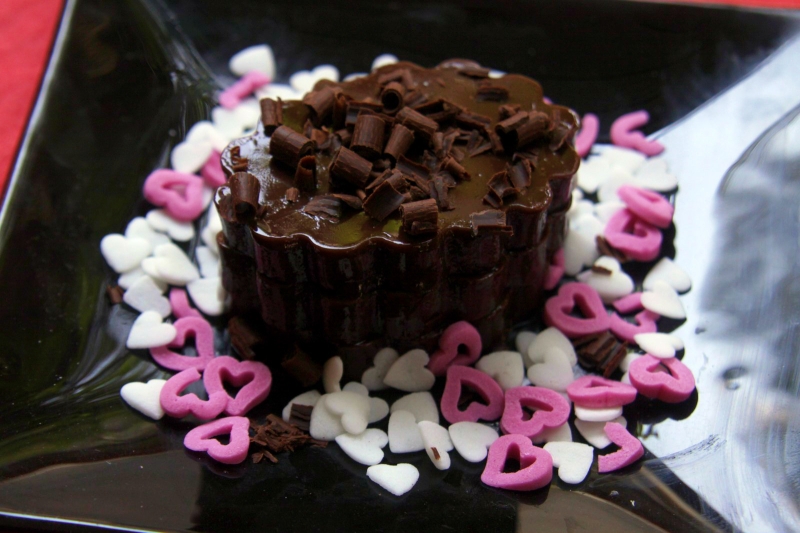
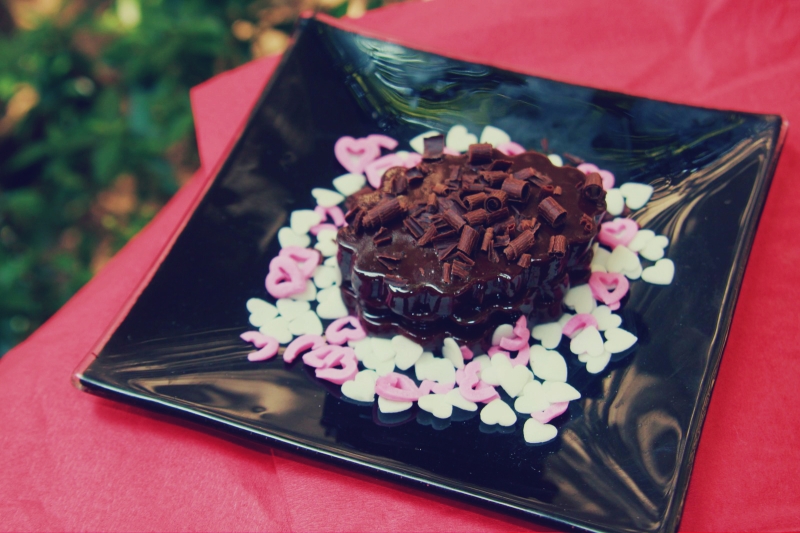
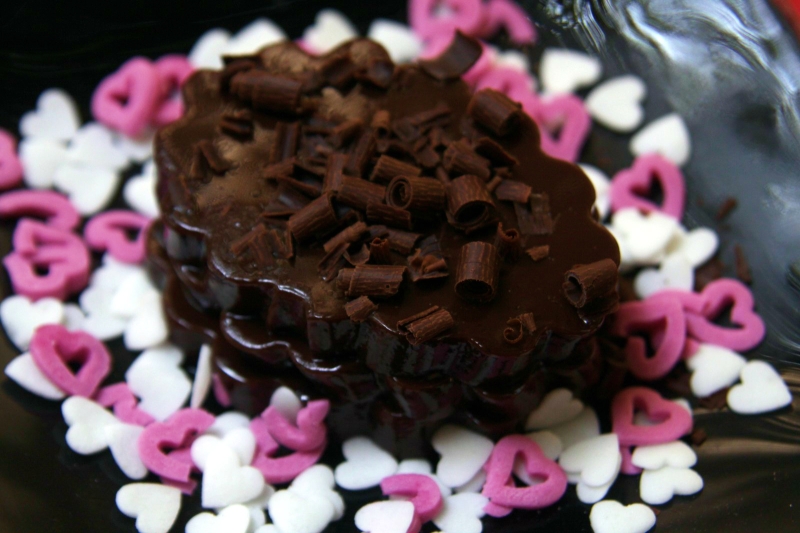
Well, this Italian egg-less treat is traditionally served with fruits or some sort of liquid sauce like a coulis or caramel, but here I am, serving it with nothing because of the heavy chocolate flavor along with a tinge of coffee, which is pretty mouthful. Some interesting fact about Panna Cotta is that, at the time when there was no gelatin readily available in hand, people boiled fish bones to obtain the collagen that later gets converted to gelatin! The whole point is that this recipe is really simple now and easy to make,best if cooled overnight. Some thing similar to this is ‘mousse’, which is whipped and much more lighter than panna cotta. But, who doesn’t like Italian! Try it out!

Gather these:

  • gelatine       – 3 teaspoons
  • warm water – 80 ml or approximately 1/3rd a cup
  • fresh cream(single pouring) – 400 ml
  • granulated sugar – 1 cup
  • dutch processed cocoa powder -100 grams
  • espresso powder  – 1.5 teaspoon
  • vanilla essence      – 1 teaspoon
  • full fat milk            – 250 ml/ 1 cup

Start with:

  • Take warm water in a bowl and sprinkle the gelatin for it to bloom. This will take about 6-7 minutes. Set aside.
  • In a heavy bottomed sauce pan, heat fresh cream and vanilla over medium heat. Add 1 tablespoon cocoa at an instance, stir frequently to combine. Repeat this for espresso and cocoa powder. Do not burn the mixture.
  • After addition of cocoa and espresso, add the bloomed gelatin and stir well to get a uniform smooth mixture with a beautiful texture.
  • If there are some lumps in the mixture, strain them once. Finish it by adding milk to it. Stir it well to combine. Taste them and adjust the sugar and cocoa.
  • Transfer them to ramekins or bowls and leave them in the fridge for 2-3 hours. I used a silicone pie dish to set and used a cookie cutter to make those shapes.
  • Demould them by inverting the bowl and giving it a light shake. Serve it as it is or with some berries of your choice!

p1

Enjoy!!

Vanilla Latte Cupcakes with Chocolate Fudge icing

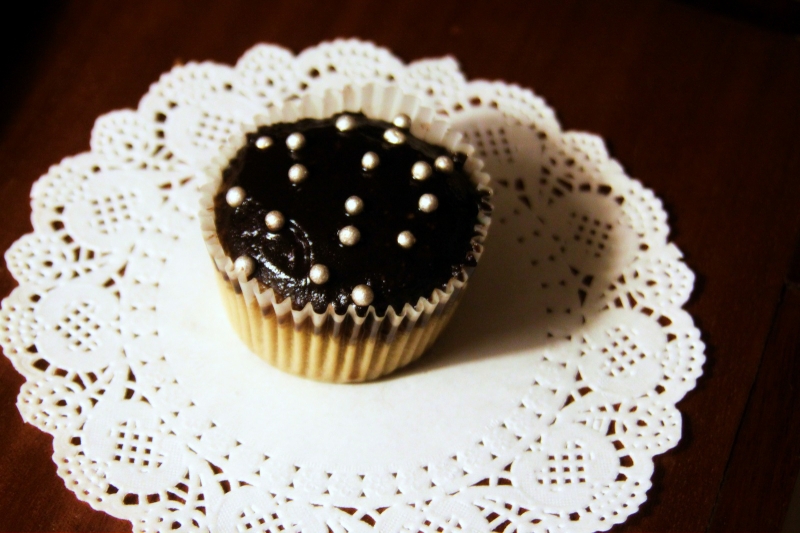
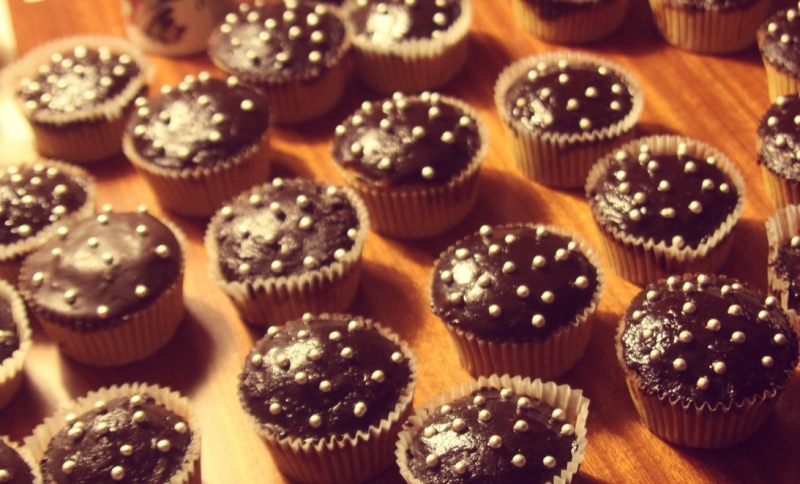
blog2Well, this is another something from my bake-sale! This one here is plush in coffee, with the special rum syrup that’s soaked in! Though latte means milk coffee, i used buttermilk instead and it is good!! Chocolate fudge icing also gives it another burst of chocolate flavor, which is excellent to go with coffee. Coffee is always ON with irish whiskey, so here I gave a try with rum and yes it is good!! Though the recipe is simple, the end product is a prodigious treat!Take a look!

Gather these:

  1. FOR THE CUPCAKES
  • unsalted butter    – 1 and half stick/ 3/4th a cup at room temparature
  • granulated sugar  – 1 and half cup
  • eggs      – 3 large
  • all purpose flour   – 2 cups
  • baking powder  – 1 teaspoon
  • salt  – 1/4 teaspoon
  • espresso powder or any good brand coffee powder (I used Davidoff)- 1 tablespoon
  • strong brewed coffee – 1/2 a cup
  • fresh buttermilk – 1/4th cup + 2 tablespoon

2. FOR THE COFFEE-RUM SYRUP

  • strong brewed coffee – 1 cup
  • white rum   – 1/4 cup
  • drinking chocolate(optional) – 2 teaspoon
  • sugar  – 1 to 2 tablespoon

3. FOR THE CHOCOLATE FUDGE ICING

  • granulated sugar   – 1 cup
  • cocoa powder  – 2 heaped tablespoons
  • unsalted butter – 1/4 cup
  • milk  – 1/3 cup
  • vanilla essence – 1 teaspoon

Okay, the list seems long, but its worth it!

Start with:1. CUPCAKES

  • Preheat your oven to 160 degrees. Get set your muffin liners in your tray.
  • Sieve your flour, espresso powder, baking powder and salt 3 times and set aside.
  • Mix coffee and butter milk in another bowl.
  • In a clean bowl, combine butter and sugar until fluffy almost about 3 minutes.
  • Add the eggs one by one, mixing well after each addition.
  • Now alternatingly add the flour mix and the coffee-buttermilk, incorporating them well, with patience until you get a smooth light mixture.
  • Fill your cupcake liners with this batter, about 3/4th the volume of each.
  • Bake it for about 30 minutes, or the toothpick/tester inserted comes out clean. While it’s in the oven, make the coffee rum syrup.
  • Transfer them to a wire rack.

2. COFFEE-RUM SYRUP

  • Mix the ingredients together and adjust the sugar and coffee accordingly.
  • When done, add 1-2 tablespoons of syrup to each cupcakes uniformly. Either the cakes should be warm, or the syrup should be warm, so that the osmos of the syrup into the cake gets fast. Do not completely soak the cake, it kills it.

3. CHOCOLATE FUDGE ICING

  • In  a pan, mix sugar, cocoa powder and milk under medium heat, until large bubbles are seen, boil for 1 minute.
  • Take them off the heat, add butter and vanilla essence. Return them to medium heat and heat them until it thickens.
  • You can also replace sugar with icing sugar, then omit the heating step after adding butter.
  • Use them immediately on the cake.

So, bake the cake, pour the coffee rum syrup and finally, chocolate fudge icing. I just finished them by decorating with silver edibles and it looked all cinderella-ish,all pretty and cute!

cinderella

Hyderebadi Chicken Biriyani

20140303_220249_Richtone(HDR)

This Turkey born authentic and alluring dish was escorted to India by the Mughals and is the epitome of spice and flavor. This one bowl meal is accepted as the feast all over South Asia, prepared traditionally as well as in modern ovens. For the best taste, try baking with earthen pots, the way it originated. Different methods of preparation and combination of spices have given them focus in different locations all over Asia like Hyderebad, Thalassery,Karachi, Pakistani etc. I made it the very popular way, Hyderebadi style. Add your favorite protein to this treat and indulge! Making this treat requires some patience and a collection of spices and ofcourse, TIME!

Gather these:

The first step is to marinate the chicken.

For the marinade:

  • fresh curd   – 1 cup
  • chicken, skinless and cut to larger pieces  – 500 gms
  • mint leaves, roughly chopped  – half bunch
  • coriander leaves  – half bunch
  • red chilly powder – 1 teaspoon
  • coriander powder – 1 teaspoon
  • turmeric powder  – 1/4th teaspoon
  • salt   – to taste
  • nutmeg   – 1 grated
  • peppercorns -5
  • cinnamon  – 2
  • mace           – 1/2 tablespoon
  • ginger          – 1/2 inch
  • garlic          – 6 cloves
  • green chilly – 1 long
  • garam masala-1 tablespoon
  • black cumin  – 1.5 teaspoon
  • vegetable oil  – 1.5 tablespoon

For Rice:

  • long grained basmati rice  – 2.5 cups
  • bay leaf    – 1
  • cinnamon – 1
  • star anise  – 1
  • cloves    – 3
  • cardamom – 2
  • pandan leaves – 1
  • butter   – 1 tablespoon

For Layering:

  • mint leaves – quarter bunch
  • coriander leaves – quarter bunch
  • fried onions  – 1 cup
  • saffron in half cup warm milk – 4-5 strands

Okay, that’s a  long list.

20140303_203848I couldn’t resist to take saffron giving color to the milk, well the camera trolled me!

Start with:

  1. Marinating chicken
  • Clean your chicken very well and set aside.
  • In a processor, grind ginger, garlic, greenchilly and 1 teaspoon water to make a smooth paste.
  • Take a bowl, dump the one cup curd along with the long list of above mentioned powders and salt, mix it well to get uniform paste.
  • Now add all the spices listed in marinade, along with chilly garlic ginger paste and vegetable oil and the roughly chopped leaves.
  • marinate these to chicken and cling wrap the bowl and fridge it for at least 2 hours.

2. Cook the Rice

  • Wash and drain the basmati rice thoroughly.
  • In a vessel, heat some butter, throw the spices and when they begin to crackle, add the rice and let them fry for around 2 minutes.
  • Cook the rice as per instructions given in the packet, along with the pandan leaves.
  • In the meanwhile, in a processor, add half cup of fried onions and paste them. Set it aside.

3. Time for real action/Layering.

  • Use a heavy bottomed vessel for doing this. Drizzle some oil in your vessel, and add the chicken along with the rest of marinade and stir them for around 3 to 4 minutes.
  • Add the pasted fried onions to get a thick gravy. Level the chicken mixture in your pan evenly to start layering.
  • Now, evenly layer the rice over the gravy, over low flame, evenly covered.
  • Drizzle the milk saffron mixture over the rice, and it smells goood!!!
  • Arrange the rest of fried onions evenly, followed my mint and coriander leaves. Close the pain with a tight lid and leave them on for fifteen minutes on a medium flame.
  • Take a heavy tawa pan and keep them on stove. Transfer the biriyani pot on to the tawa pan.
  • Now to provide some baking effect, you need to close the edges of the vessel to prevent the steam leak as well was flavor. For that, in a small bowl, hand-mix some flour and water to get a dough consistency and seal the vessel edge.
  • Now turn the stove on to low flame. Leave them for around 30 minutes. Turn off the stove and leave them for 10 minutes.

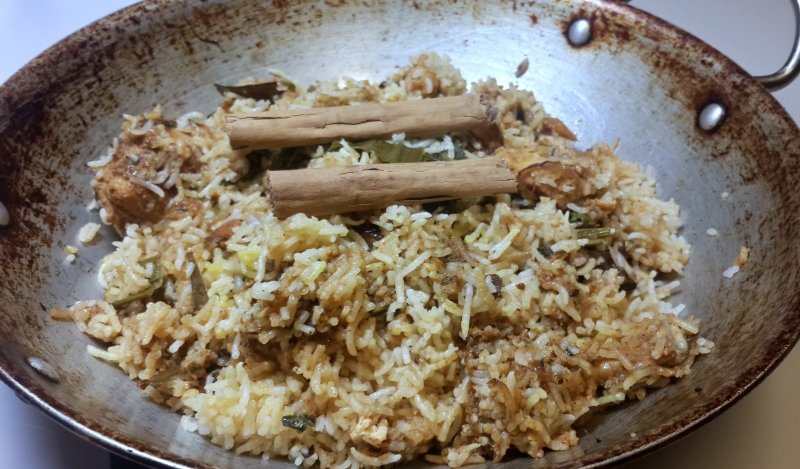
20140303_215546This is how the top view looks like and smell is irresistible and authentic!

  •  Pull off the sealed edges, open the lid and indulge in the exotic aroma in the kitchen or house to be precise.
  • Serve them hot with some raita and pappad!

20140303_220346_Richtone(HDR)